
To begin sorting through these figures, I chose one student to stand up at the front with his object, a cereal box. He told us about it (shapes, color, flat, etc.). I then asked the others to join him with their object at the front if their object looked similar. The others then gave descriptions as well. All the while, I was just waiting on someone to mention number of sides or lines or points or something (I knew someone would!). Sure enough, one sweet little girl talked about the number of pointy parts that were on her box. We decided to count the parts together. I gave a friend some dot stickers to help us keep track and we began to count the sides as she put stickers on the pointy parts (vertices) with the friend handing her each sticker. At this point, I did not introduce any formal vocabulary. We simply referred to them as pointy parts, points, or corners.

They also became interested in the number of flat parts and lines on the box. We counted those too, using happy face stickers for the flat parts (faces--yes, that was intentional!) and a different color of dot sticker for the lines (edges). After we finished hers, we labeled it with the number of points, lines, and flat sides. I divided the class into smaller groups and each remaining student with an object took their object to a small group and they counted and placed stickers on the objects together.

We came back together and each group shared their findings with the class. We labeled each object and noticed that all of them had the same number of points, lines, and flat sides, even though they were different sizes and colors/designs! Hmmmmmmm, more to come, there. We placed the objects onto our graphing mat, wrote our observations onto an anchor chart, and continued on.

And finished sort:

After another day of discussion, recording ideas onto an anchor chart, and figure exploration, I finally introduced the math terms for the words we had been using. We went back to our anchor chart and crossed the informal terms and replaced it with the formal. We also crossed out ideas that did not apply to all variations of the figure (such as "all cones are blue"). We compiled the information we gathered onto these final copies:

For the rest of our unit, we kept the figures in a 3D Figures Museum at the back of our room:


We also spent part of each day of this unit just exploring various figures during station time.
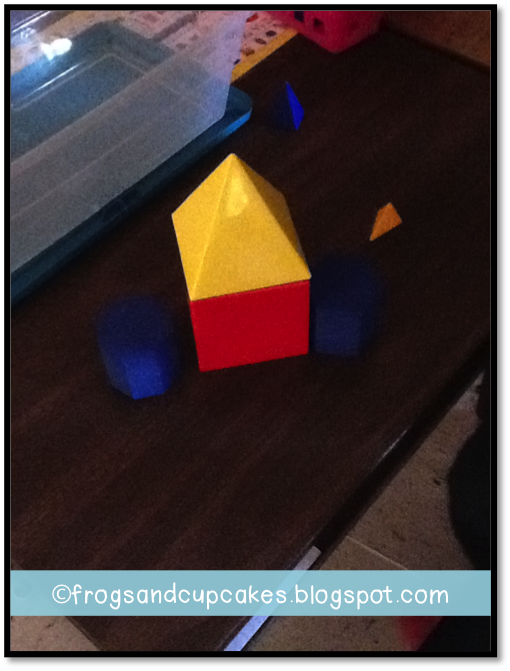
3D figures:

Color tiles:

Shape sticks (formerly known as angle sticks):

Tangrams:

Another thing we did was trace the sides of our figures to see what shapes would turn up. We used happy face stickers, of course, to help us keep track of the faces.


We also explored to see if each figure could roll, stack, and slide. No pics of that, of course... ;)
Well, thanks for stopping by! Hope to see you at the Teacher Appreciation Sale on TPT and TN! You deserve a break! ;)


Hi Janaye,
ReplyDeleteAwesome, awesome, awesome! What a great student-led, intentional way to teach 3-D geometry concepts!!! I will be sharing your post with everyone I work with!
Thanks
Tara
The Math Maniac
wow that is really awesome and easy way to teach 3d thanks for this post i'll surely show it to my students
ReplyDeletegeneral knowledge